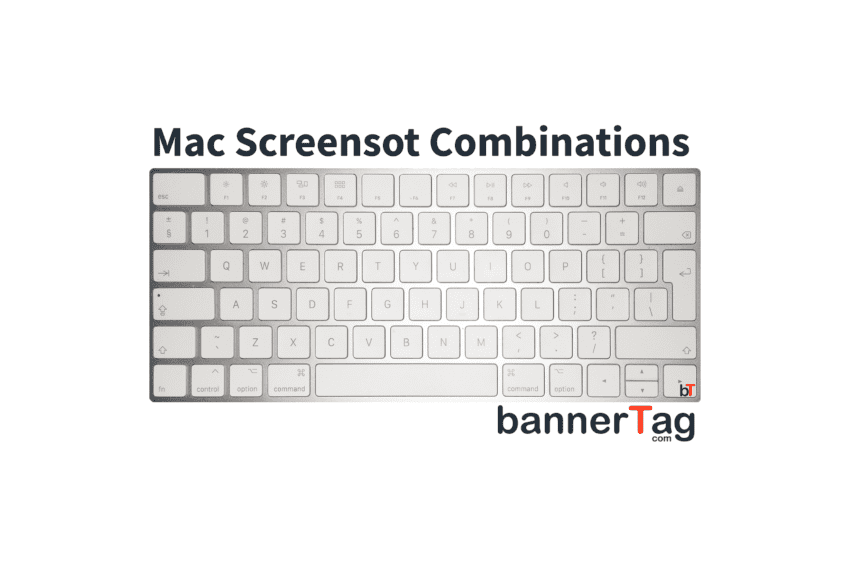
The guess is that you have just bought a Mac, so you searched for “How to do a print screen on a mac”. There is no defined key designed on the Mac keyboard, but there are several ways to do a screenshot using a bunch of combinations. Whereas for windows computers it is a lot easier as usually the key is pre defined and easy to use. The big difference here is that on the mac you can use these combinations to fit your needs. For example to copy the screen print right away without saving the image to the computer and pasting it in the chat or email directly.
We work a lot with banners and helping users understand how to better use the world of advertising. I must have taken at least thousands of images on my mac so far, especially for articles such as “7 best WordPress templates for ads“. There are 6 ways (+ one bonus) how to do a print screen on a mac, but I usually just use three of them. The system used for these examples is macOS Catalina version 10.15.2 (19C57) – it will work for all versions of macOS.
There were a lot of people asking how we have made so many high quality screenshots that we use on bannerTag.com. This can be used as a reference. I have also added a small table at the end of the article with all the combinations at the end for easier use, so you can find fast how to do a print screen on a mac the easiest at that moment.
How to do a Print Screen (Screenshot) on a Mac
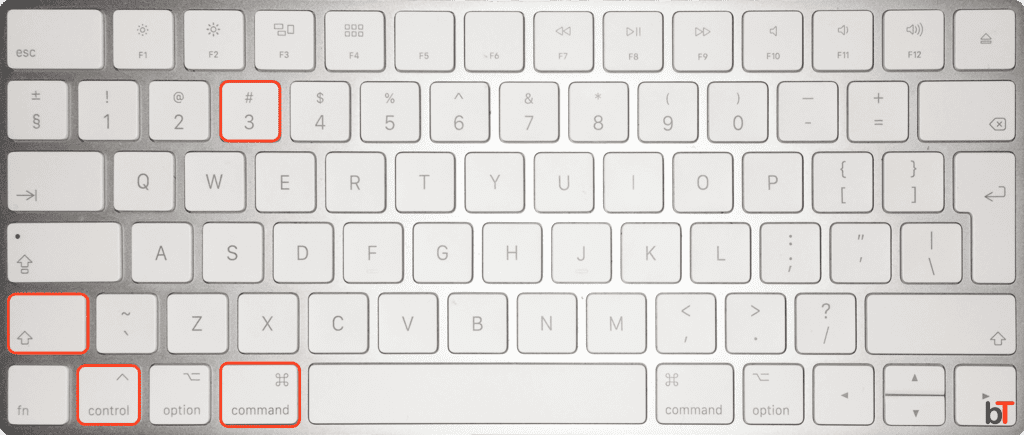
1. Print Screen (screenshot) an entire screen area and save it to your clipboard. This is very similar to copy-paste scenario.
Command ⌘ + Control + Shift + 3

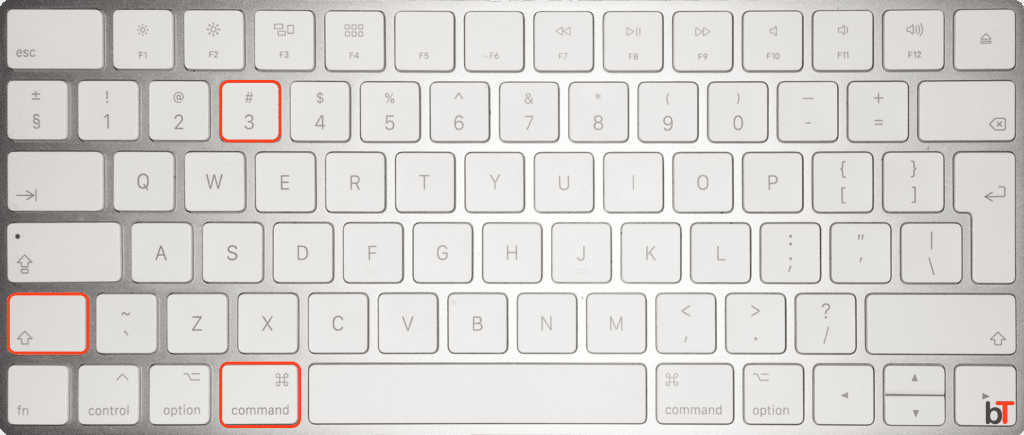
2. Print Screen (screenshot) an entire screen area and save it on your desktop.
Command ⌘ + Shift + 3

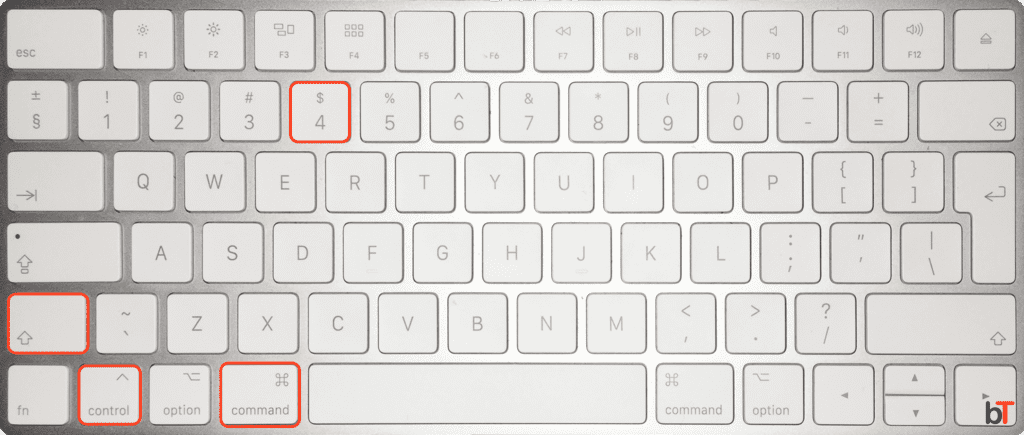
3. Print Screen (screenshot) a selected area of you mac screen and save it to your clipboard. (Copy-Paste)
Command ⌘ + Control + Shift + 4 + drag with a mouse.
(for older Mac versions use Apple key ⌘+ Control + Shift + 4)

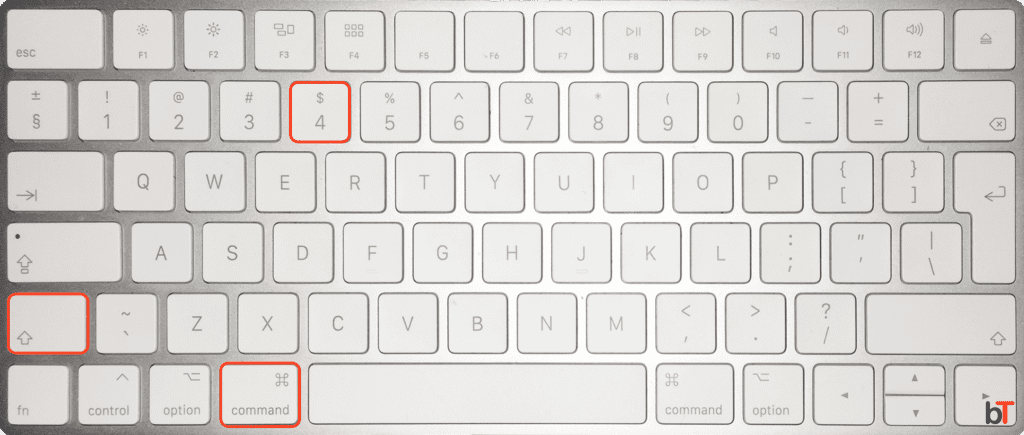
4. Print Screen (screenshot) a selected area of you mac screen and save it on your desktop.
Command ⌘ + Shift + 4 + Drag with mouse.
(for older Mac versions use Apple key ⌘ + Shift + 4)

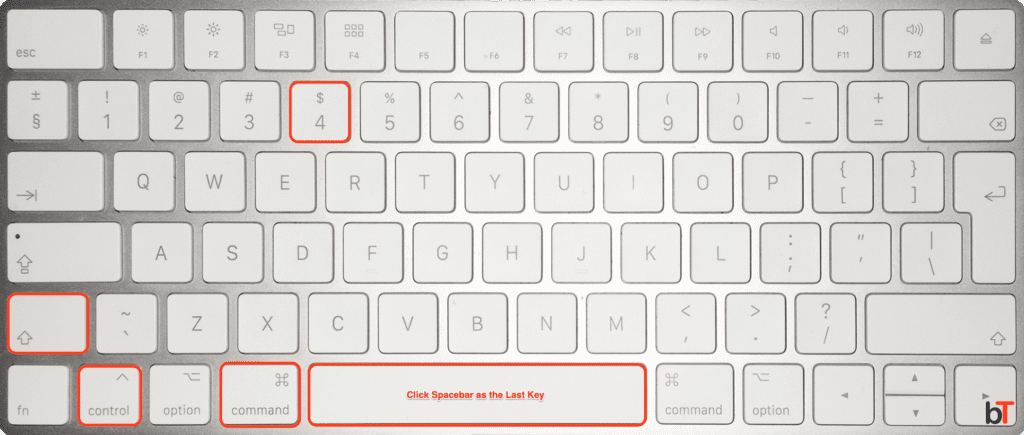
5. Print Screen (screenshot) a window of an app and save it to your clipboard. (Copy-Paste)
(Command ⌘ + Control + Shift + 4) + Space bar + Mouse Click
Click Space bar as the last key.

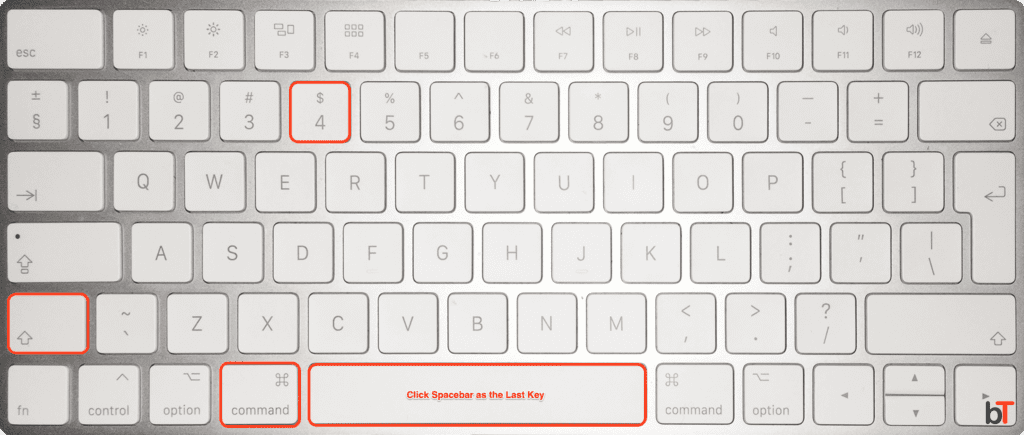
6. Print Screen (screenshot) a window of an app and save it on your desktop.
(Command ⌘ + Shift + 4) + Space bar + Mouse Click
Click Space bar as the last key.

7. Bonus (Use an app) – Skitch. (We use it and recommend it – not sponsored)
As another way to do screenshots is by using an app. The best so far we have found is called Skitch. We use it every day and it has some extra functions that can come in handy. Images for this article were edited through this software as I find it very easy and fast to use. The app adds an item to your mac navigation bar so it is always easy accessible. When a screen shot is made, it can be instantly edited. As an example, the image below is made with Skitch.
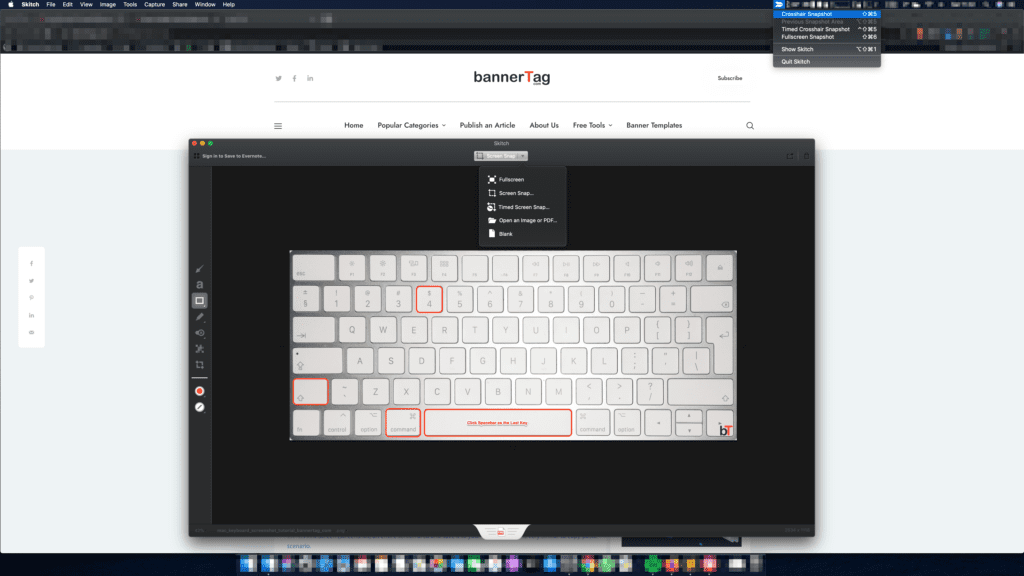

Table of Mac Print Screen (Screenshot) Combinations
| Screenshots/Print Screens | Combination | Saves To |
| Whole Screen | Command ⌘ + Control + Shift + 3 | Clipboard (Copy/Paste) |
| Whole Screen | Command ⌘ + Shift + 3 | Desktop |
| Selected Section | Command ⌘ + Control + Shift + 4 + Mouse | Clipboard (Copy/Paste) |
| Selected Section | Command ⌘ + Shift + 4 + Mouse | Desktop |
| A Window (App) | Command ⌘ + Control + Shift + 4 + Space Nar | Clipboard (Copy/Paste) |
| A Window (App) | Command ⌘ + Shift + 4 + Space Bar | Desktop |


